CureNet
An innovative free platform redefining medical application UI/UX design for enhanced patient care and efficiency.
Project by:
Madan Timilsina
Ankit Rijal
Jessica Chhetri
Mariyam Tamang (senior UX researcher)
Empathy map: Henry
SAYS
THINKS
Very expensive to get medicine from store
Unable to have regular check-up due to financial condition
Have to work very hard to get small amount of money
Cannot give time for recurring check-up
Ready if able to get check-up in small amount of money
Will recommend to friends and family if the app is very helpful
There aren’t many people to get help from
Wants to get medicine in very less amount
Would like to get regular medical checkup if fees are very low
Would like to get help from other people
Wants to manage time for appointments
Wants to help his friends and family to
DOES
Works full time around 80 hours / week
Gets up at early morning and move for work from 7AM
Return back at around 5PM from work
Take care of family during holidays
Does labor, cleaning and washing in restaurant
FEELS
Sad when he can’t afford for health check-up even in need
Emotional when he thinks about his condition
Worried about future of his family
Worried if he goes for regular checkup then his financial conditional gets more worst
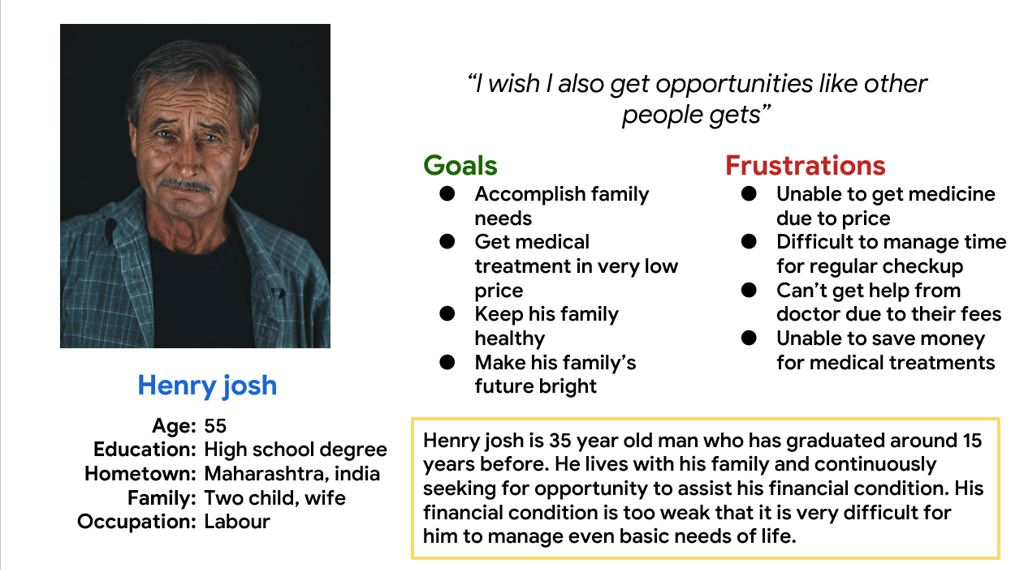
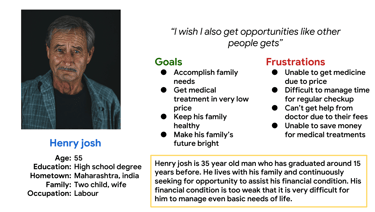
User persona
It is important to represent a set of people with a user-persona so that the product can be designed according to users' problems and goals. So, here I used hypothetical person named Henry Josh for understanding people problem and goals. This will be again stated after this step of creating persona
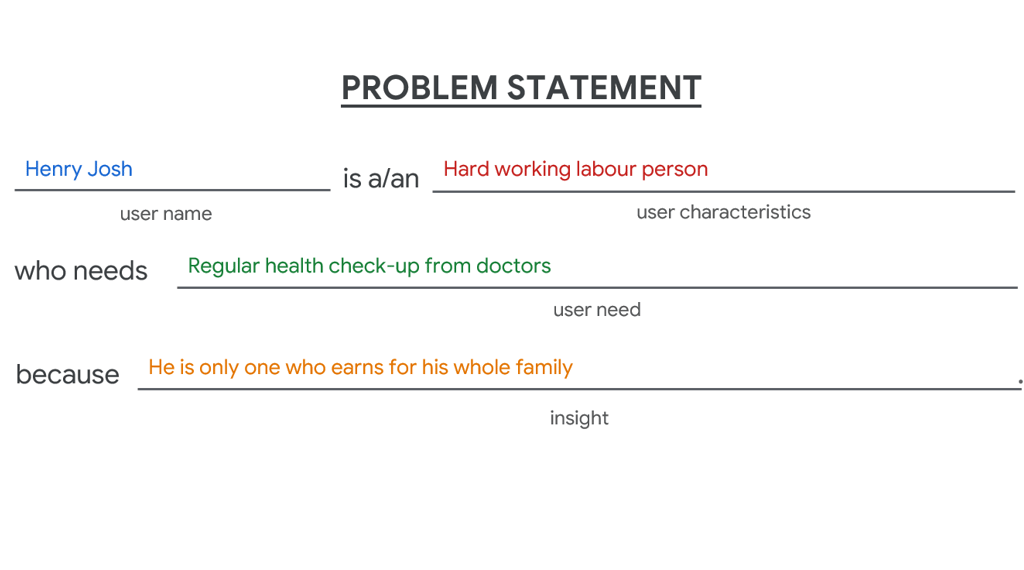
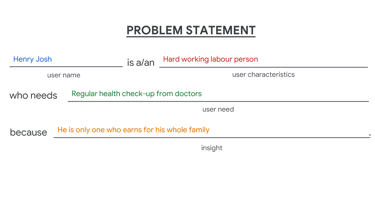
Problem
statement
I derived the main problem the user is facing through empathy map and user research done by my team. Then I draw a single problem statement that can address pain points of user persona
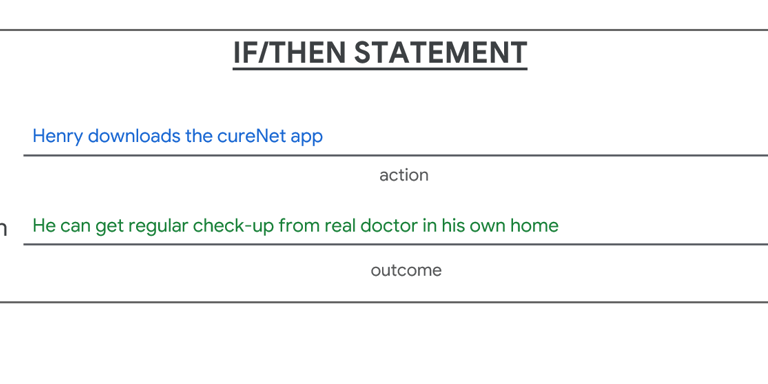
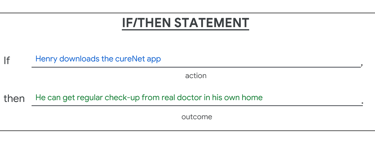
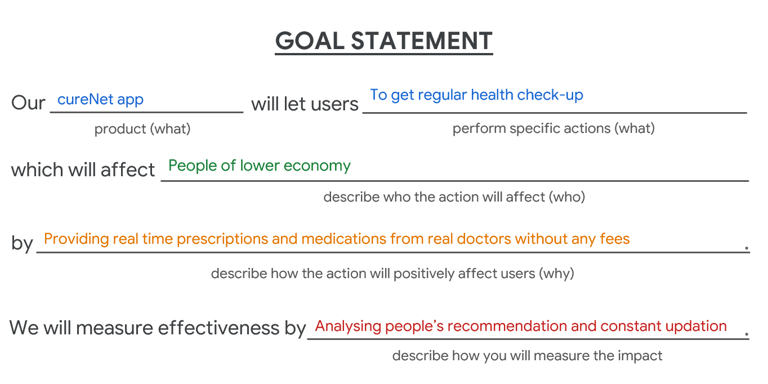
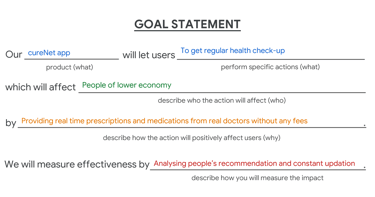
Hypothesis & Goal statement
Based on the problem statement, now I need to craft hypothesis and goal statement in such a way that provides solution for frustration of users (user persona)
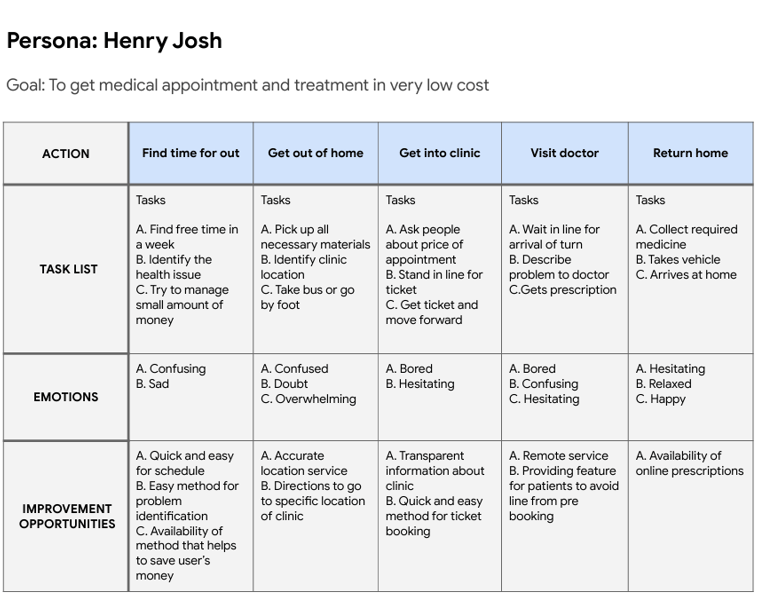
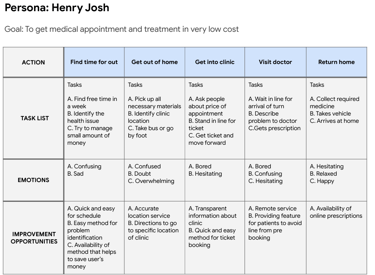
User journey map
Before using the cureNet app, how a person should go through for getting medical check is represented by user journey map. It records actions that a user has to do, task lists, emotions, and improvement opportunity for cureNet app
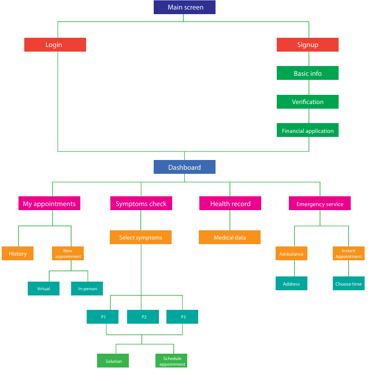
SiteMap
After we have recorded what we need to solve, then we can start planning for designing application. The structure of application is represented by site map as shown in picture. It helps to provide a map or outline of all the pages and content on a cureNet application

Link for the sitemap:
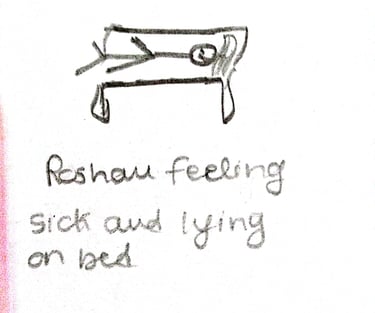
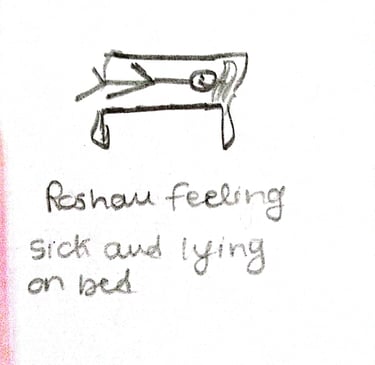
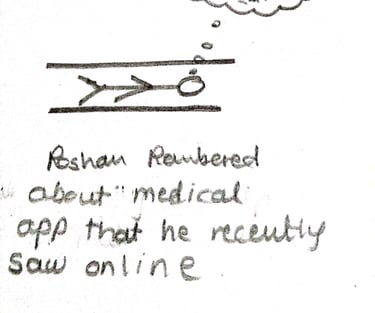
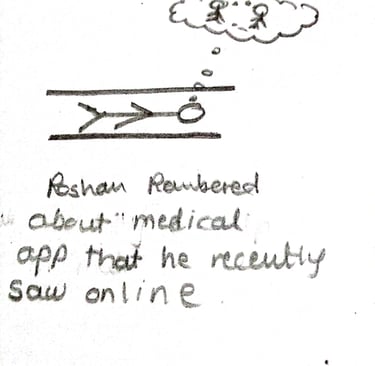
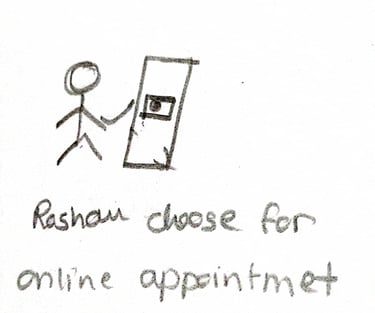
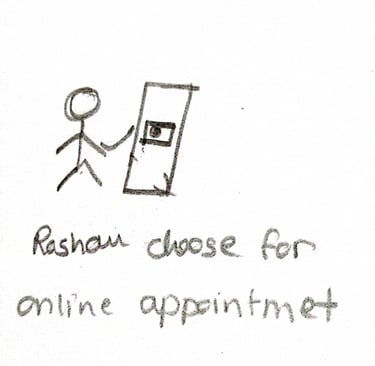
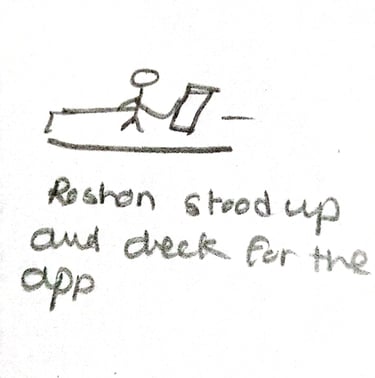
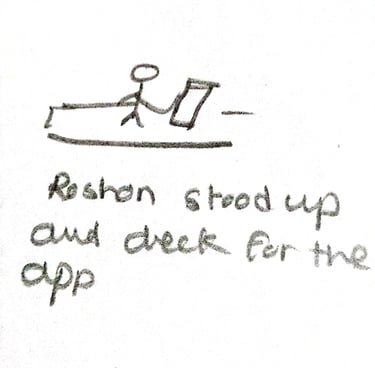
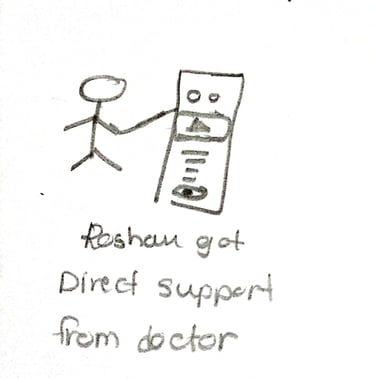
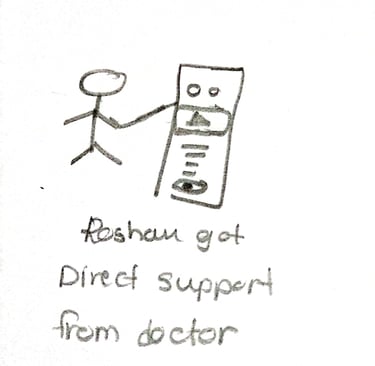
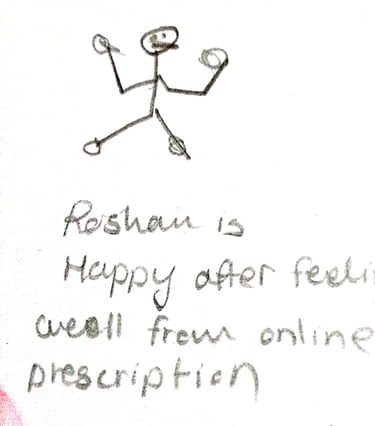
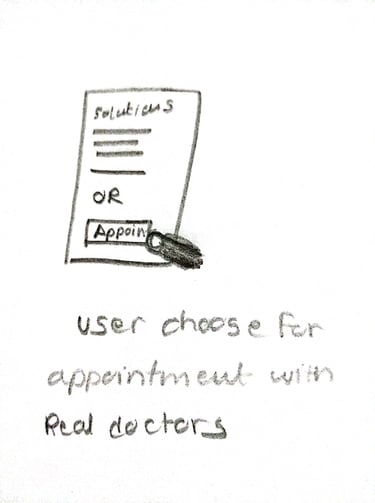
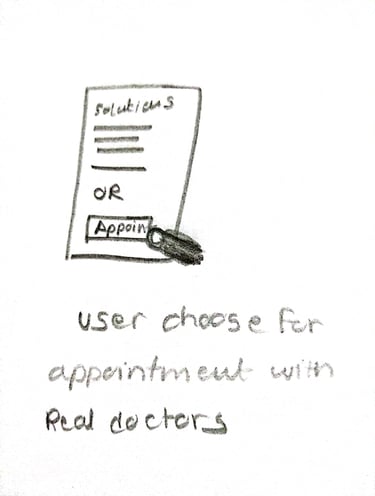
Big Picture storyboard
Now let's imagine how the user can react if there was some app which can be used during some mild sickness. This out picture of user moment is recorded by big picture storyboard. Please ignore I am bad at drawing people, so sorry for bad drawing.

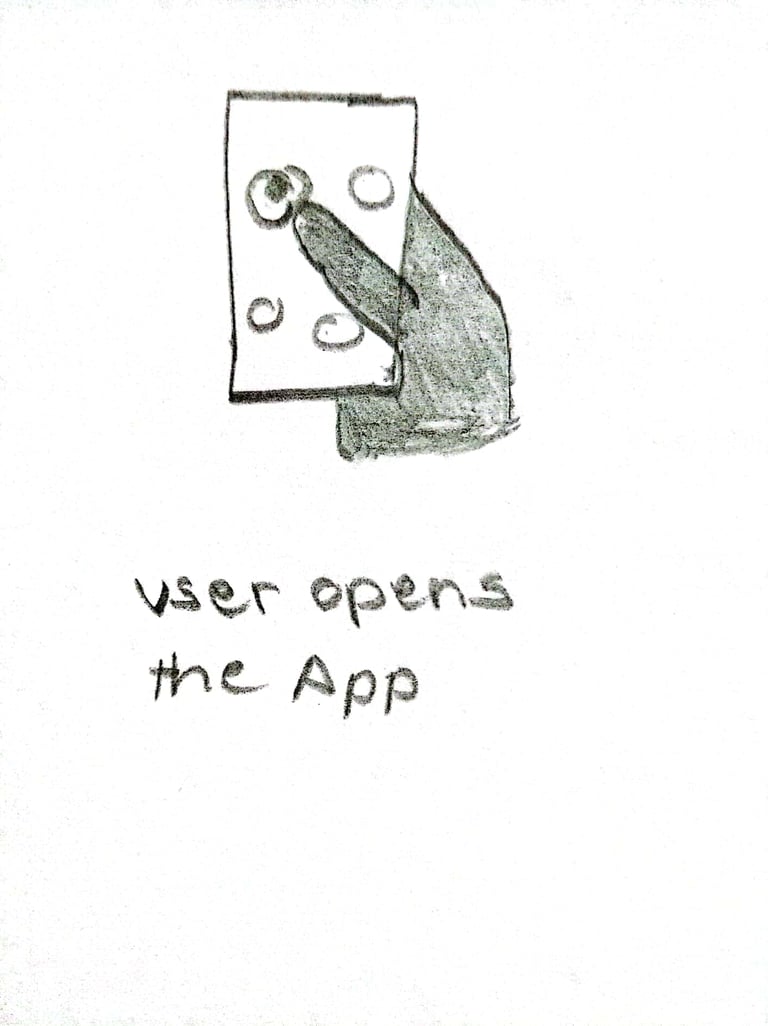
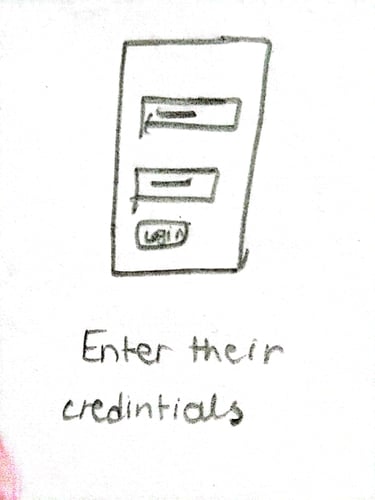
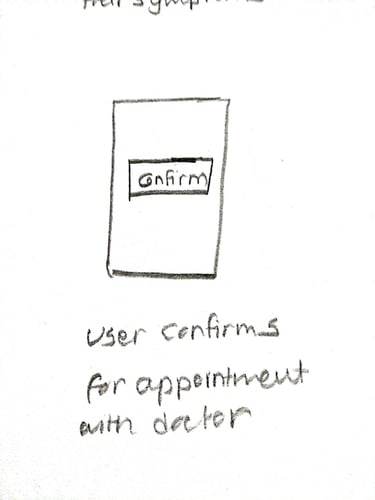
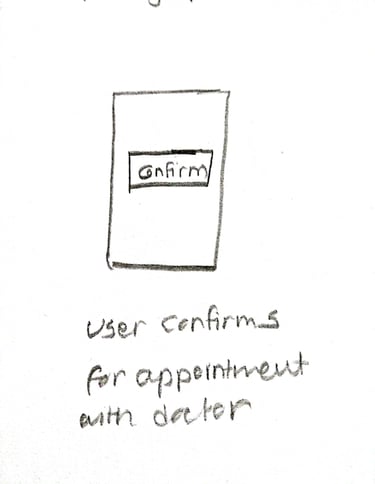
Close Picture storyboard
Now this time we need to see how the user does might react inside the app. Before we show out of the application, now close picture storyboard records how the user might go through inside application


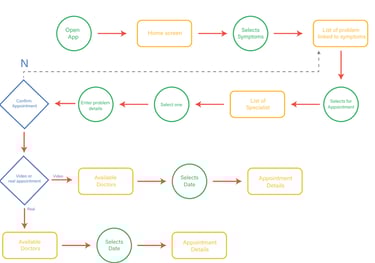
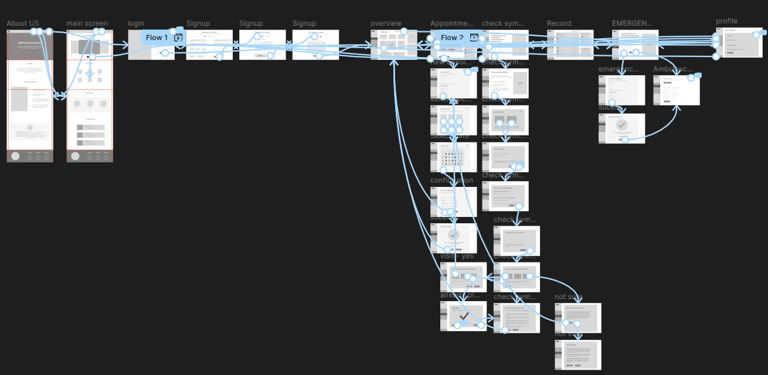
User flow
Diagram
Now it's time to visually represents the path a user takes to complete a specific task or achieve a goal within a cureNet app. User flow diagram is used to understand and design seamless, intuitive user experiences
Link for User flow diagram: Cure Net userflow diagram pdf

Crazy 8- Rapid Sketching
After brainstorming user problems, creating mind maps, developing sitemaps, and designing user flows, we move on to sketching the user interface of the application. To quickly generate ideas, I use the Crazy 8s method—a rapid sketching technique.
This approach involves setting an 8-minute timer and sketching as many ideas as possible within that timeframe. Each round focuses on exploring different concepts or iterations, encouraging creativity and out-of-the-box thinking. We repeated this process multiple times, ensuring a wide variety of ideas and potential solutions are captured.
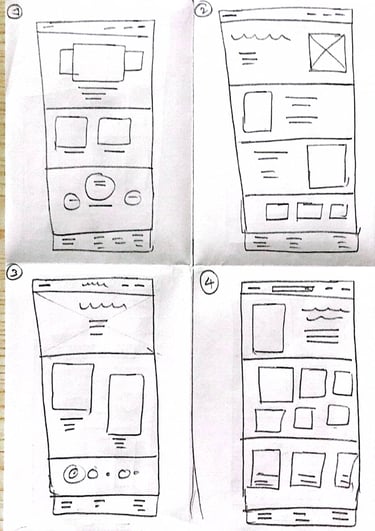
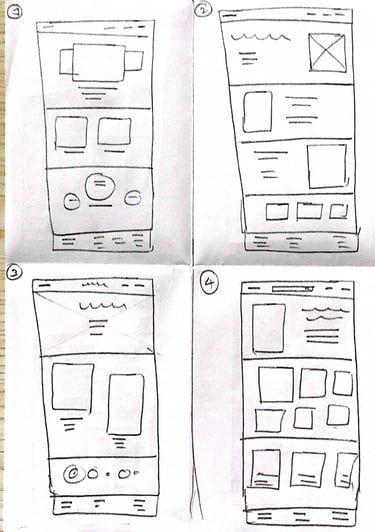
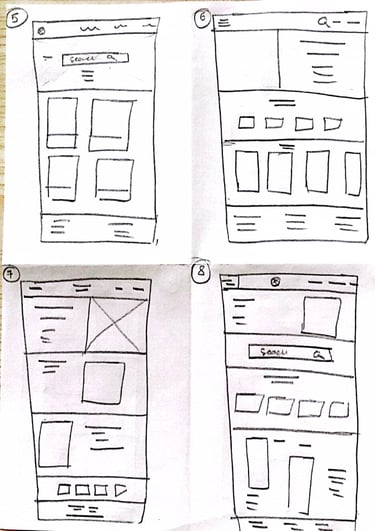
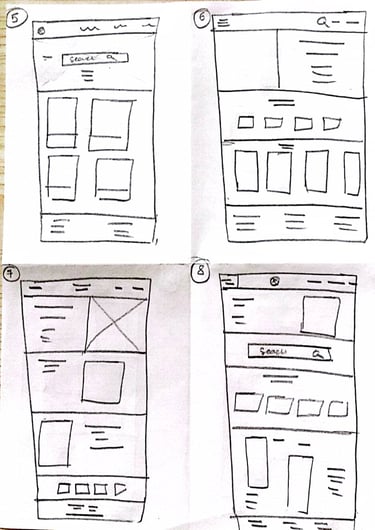
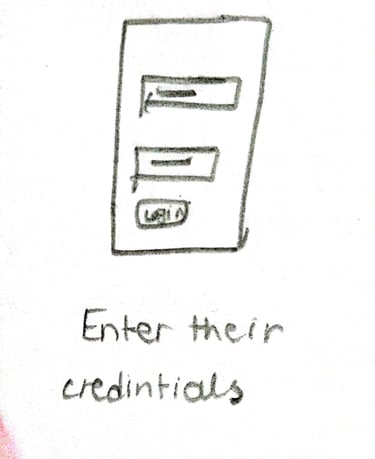
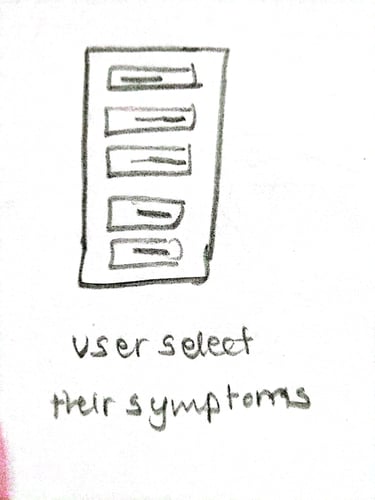
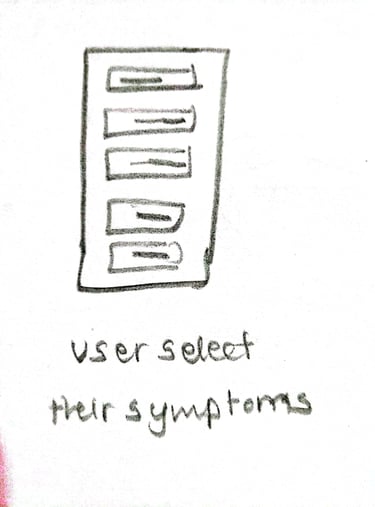
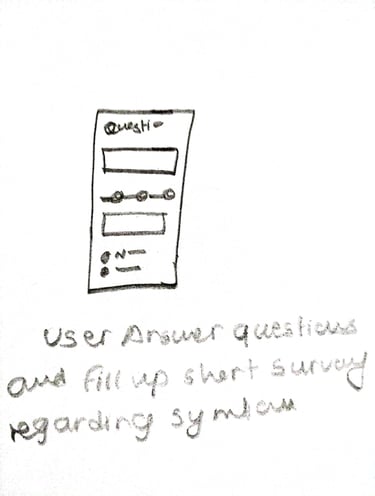
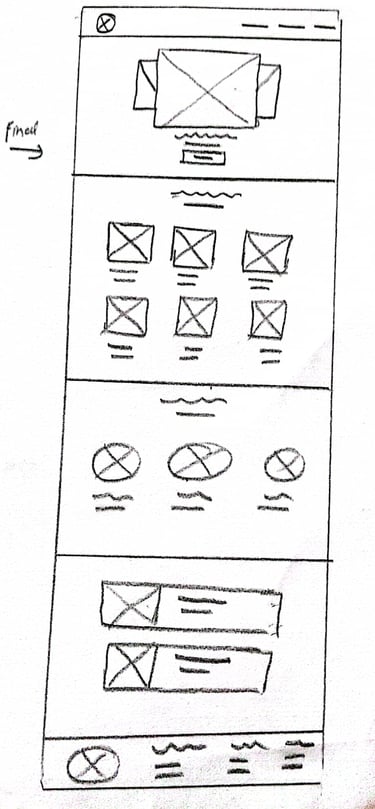
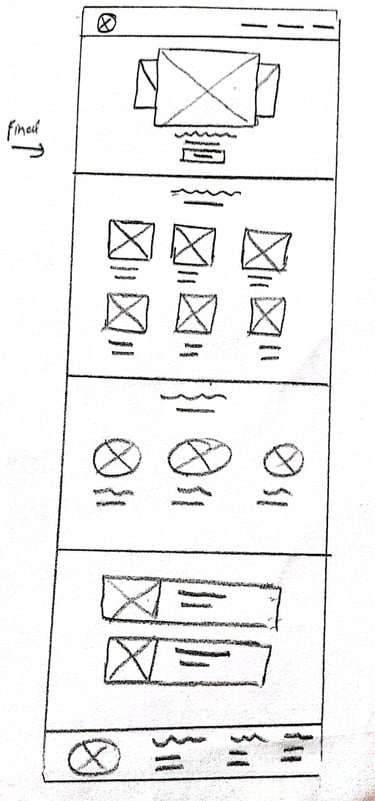
Paper wireframe
After completing the Crazy 8s exercise, I transferred some of the ideas onto paper wireframes. This phase represents the initial steps of the design process, where the concepts start taking a more tangible form that could reflect the final product.
The Crazy 8s method provided a variety of ideas, and by combining and refining those concepts, I, along with my team worked further to design different screens for CureNet. These paper wireframes serve as a foundational blueprint, offering a simple and clear representation of the application’s structure and layout
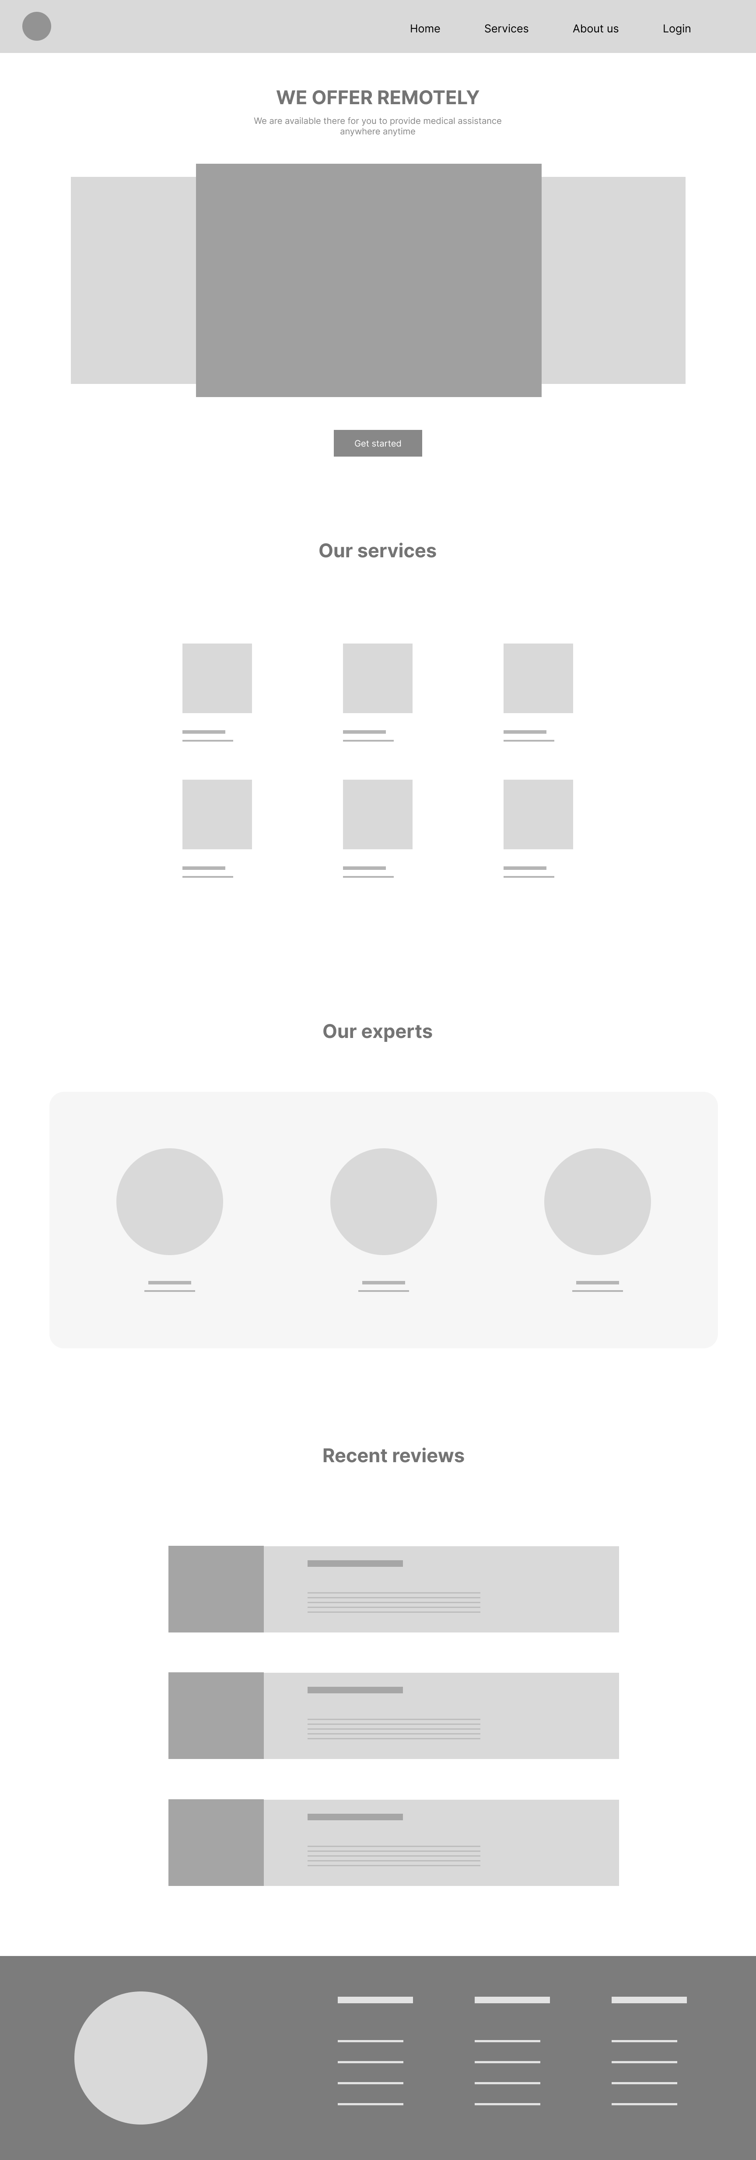
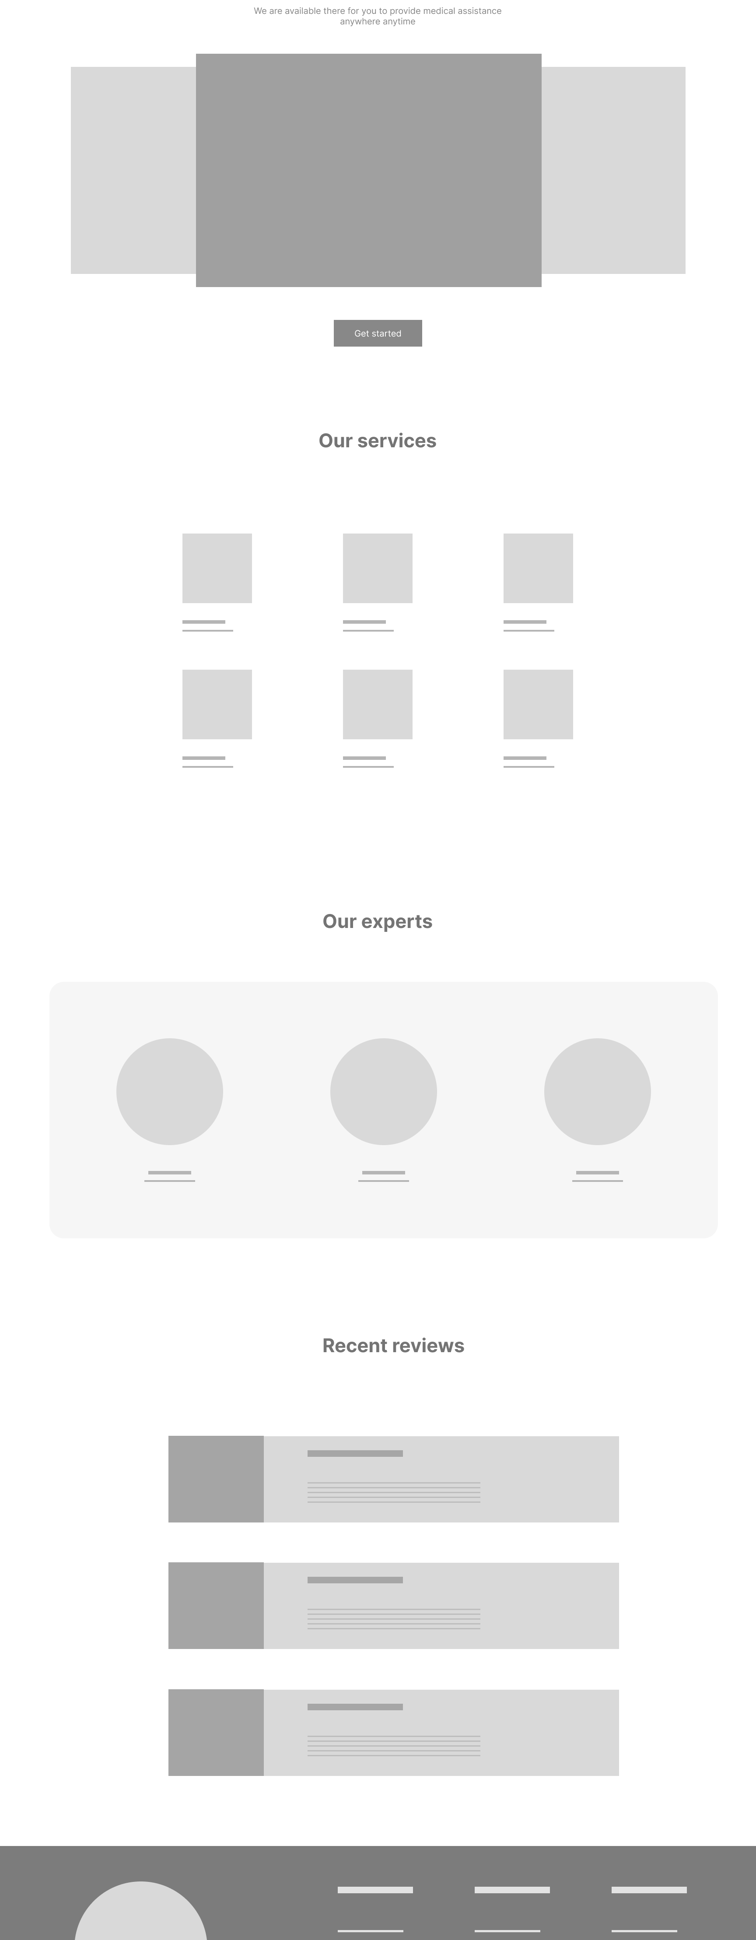
Digital wireframe
After finalizing the paper wireframes, we transitioned to creating digital wireframes. This phase transforms the initial sketches into more polished, detailed designs using design tools. We used Figma and Adobe illustrator. Digital wireframes offer greater precision and scalability, making it easier to refine the structure and layout of CureNet
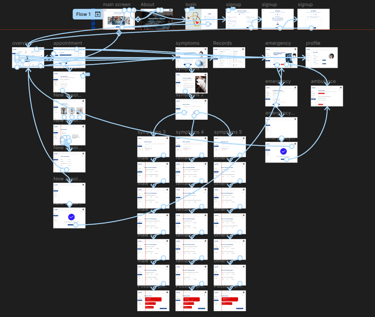
Low Fidelity prototype
With the digital wireframes in place, the next step is creating a low-fidelity prototype for CureNet. This involves linking the wireframes to simulate the user journey and interactions, providing a functional yet basic representation of the application.

Click here to view working of Lo-Fi protype of cureNet
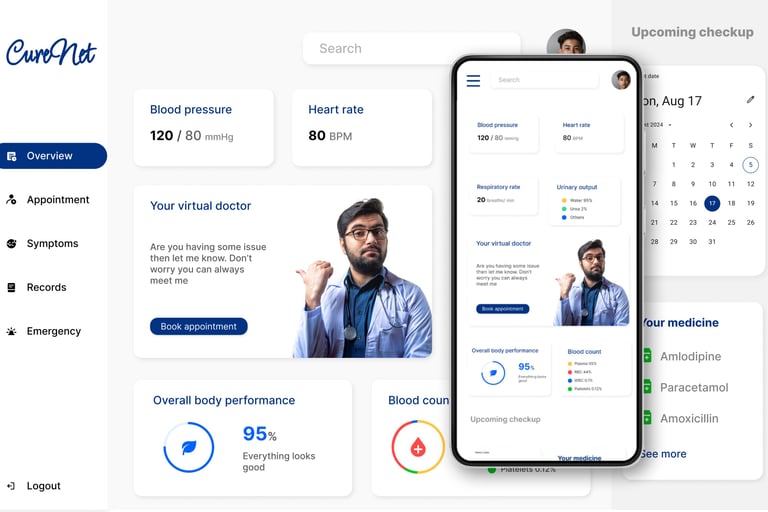
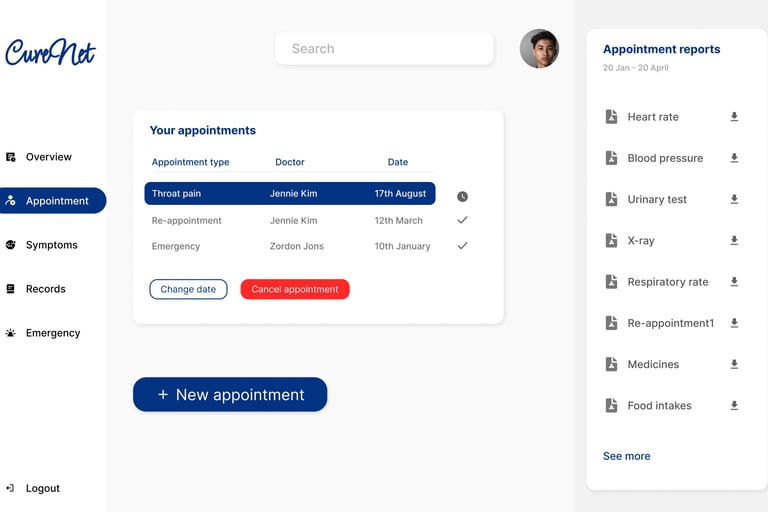
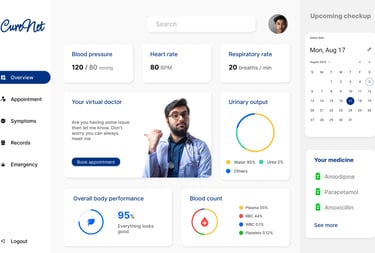
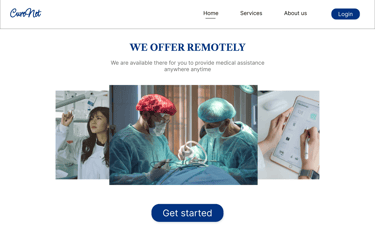
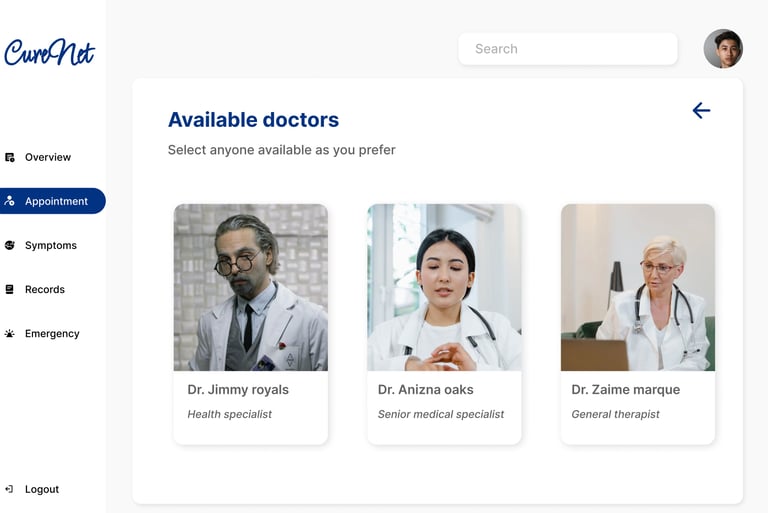
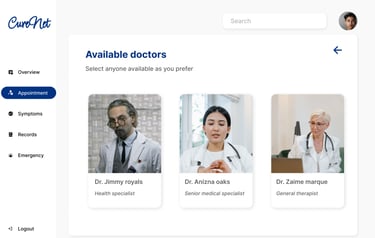
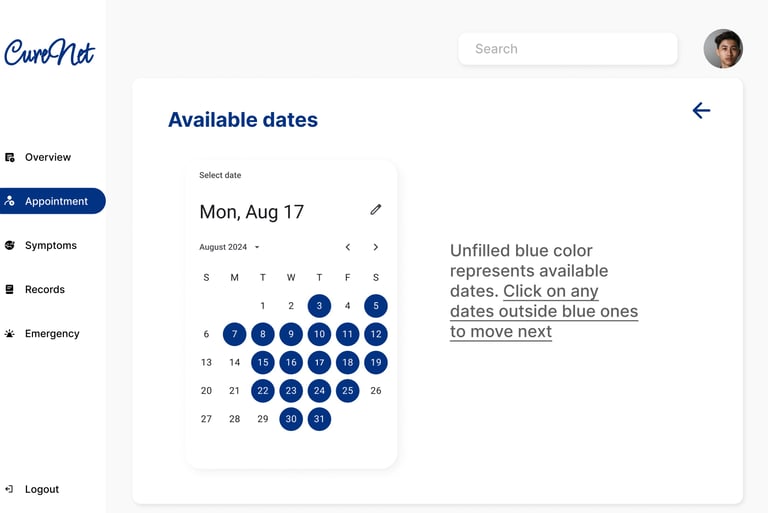
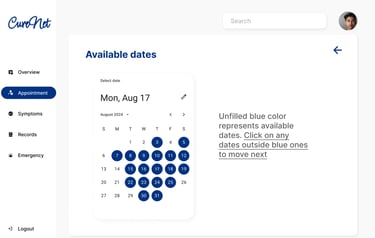
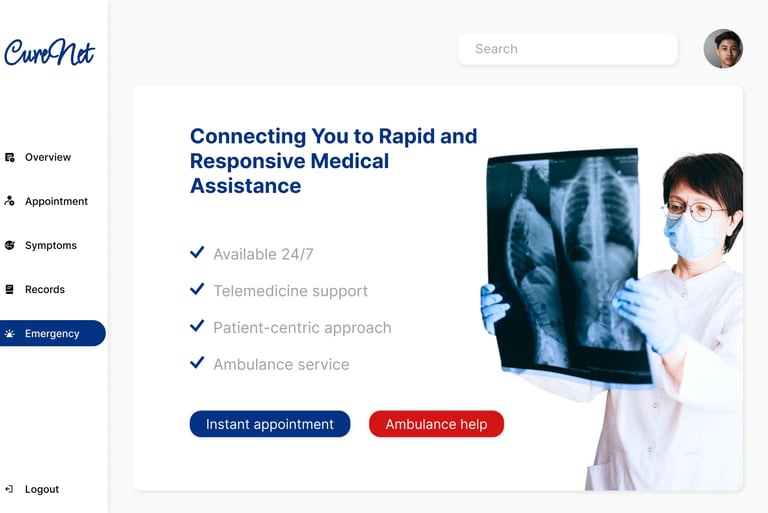
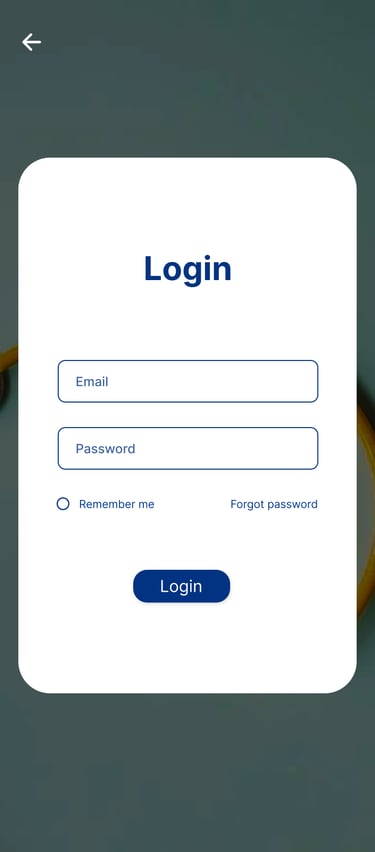
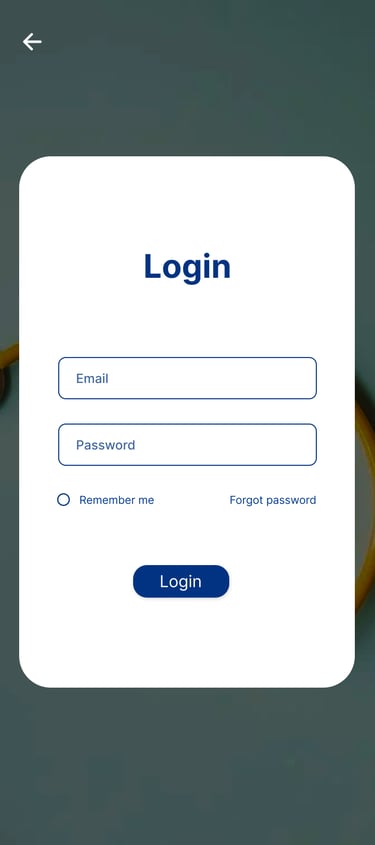
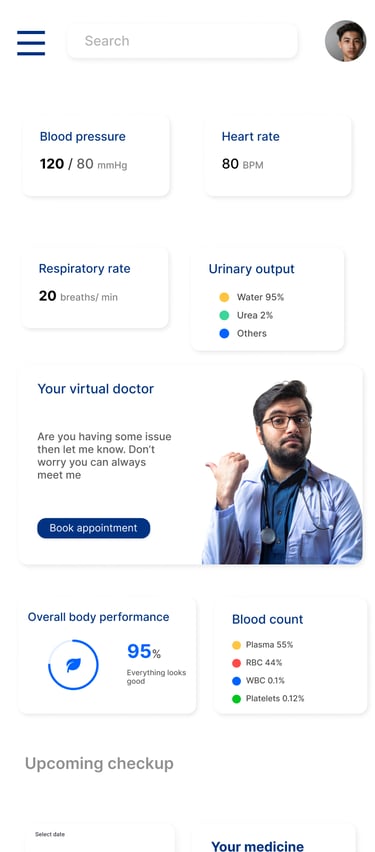
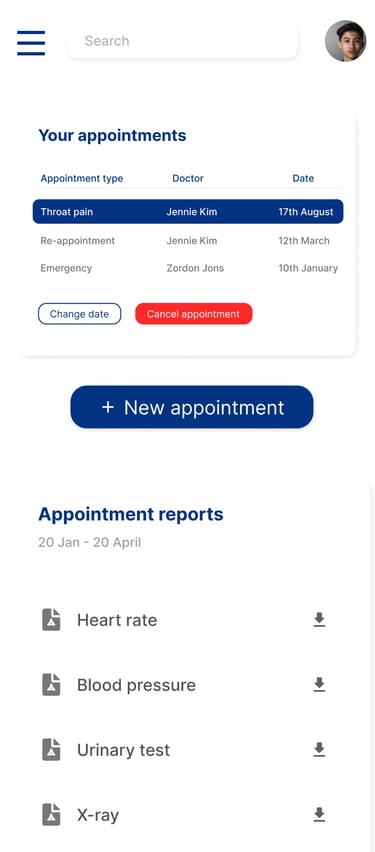
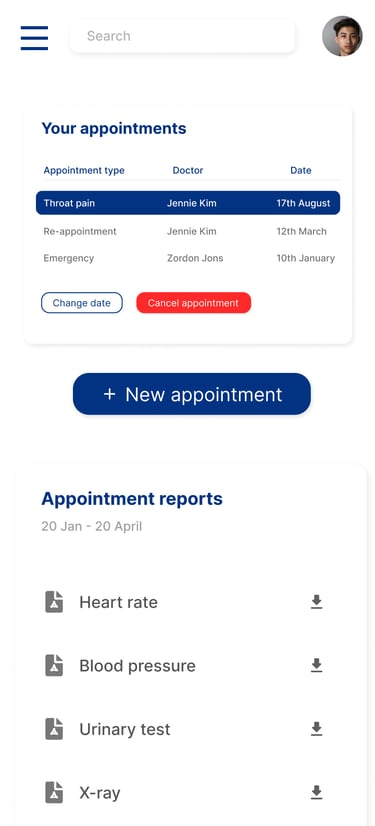
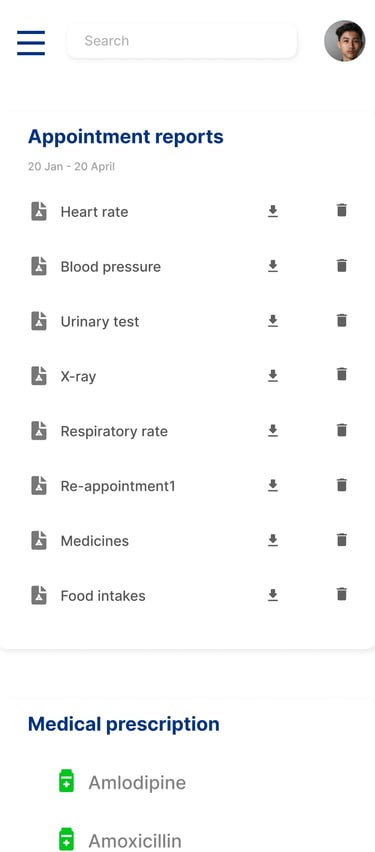
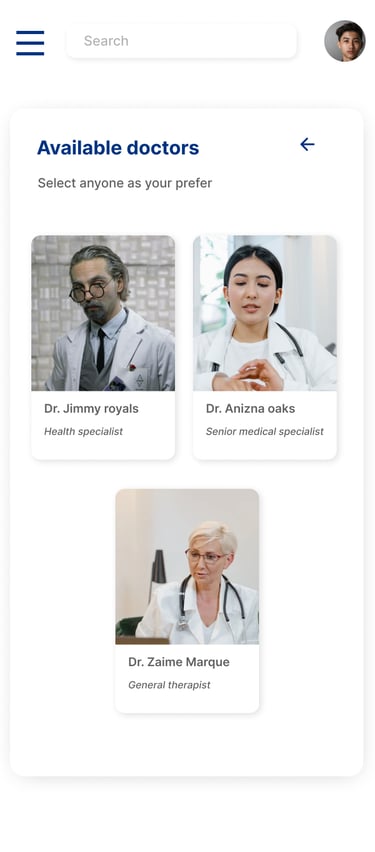
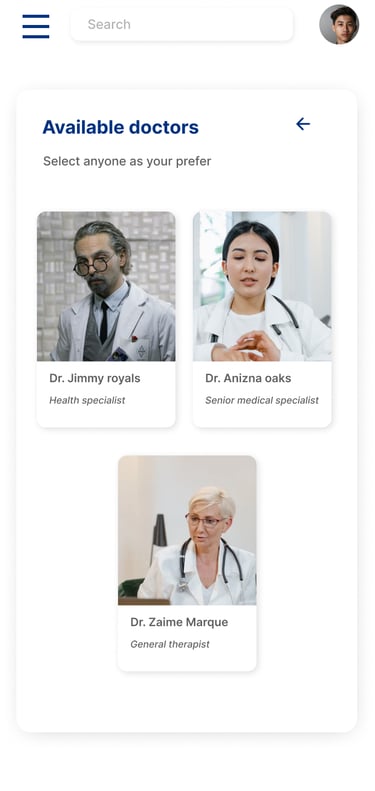
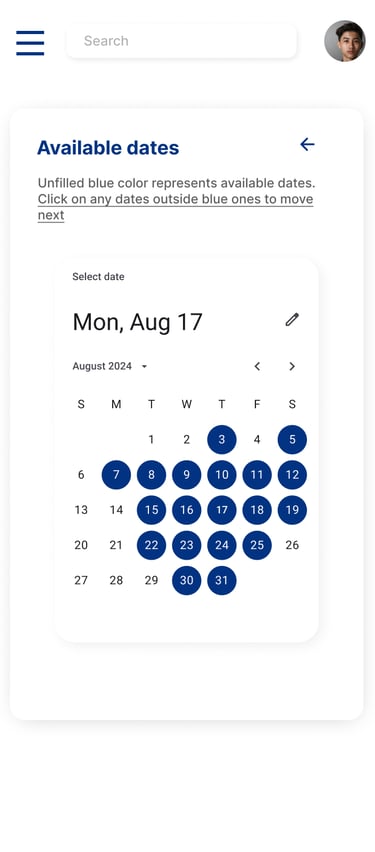
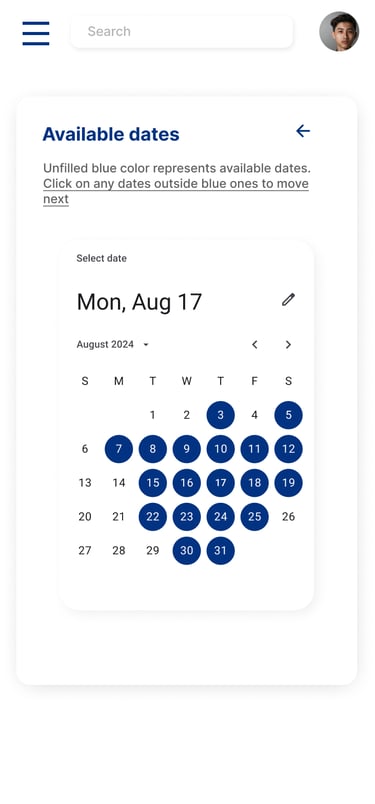
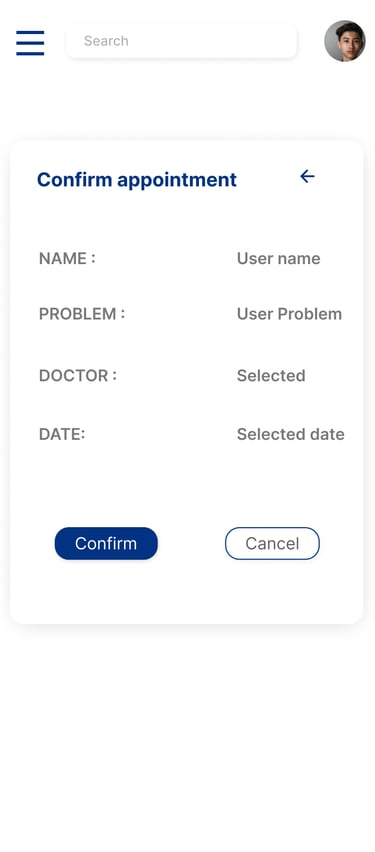
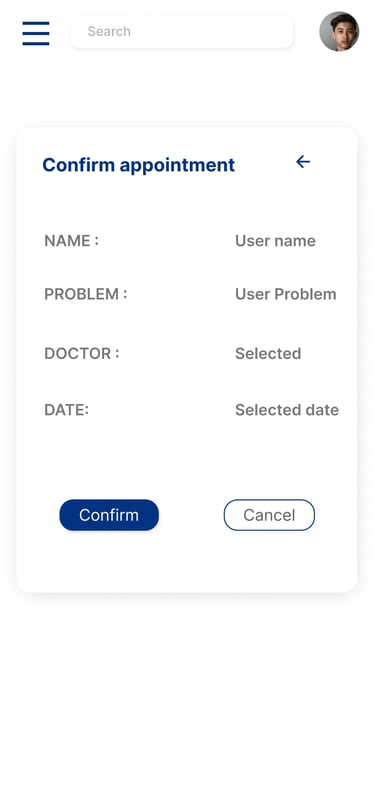
High Fidelity prototype
With the low-fidelity prototype validated and refined, the next step is to create the high-fidelity prototype for CureNet. This phase transforms the basic wireframes into a visually polished and interactive design

Click here to view working of Hi-Fi protype of cureNet
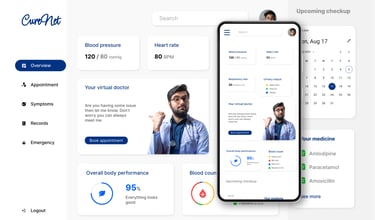
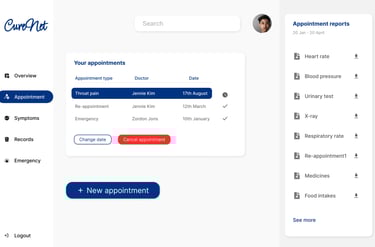
Here are the some of the mockup screens of desktop version of cureNet website


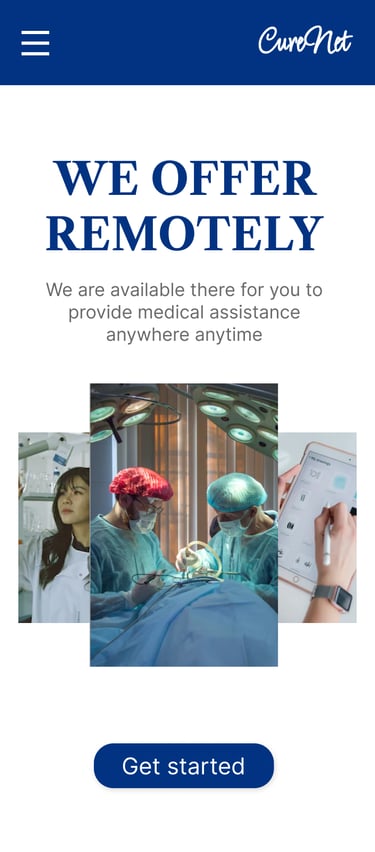
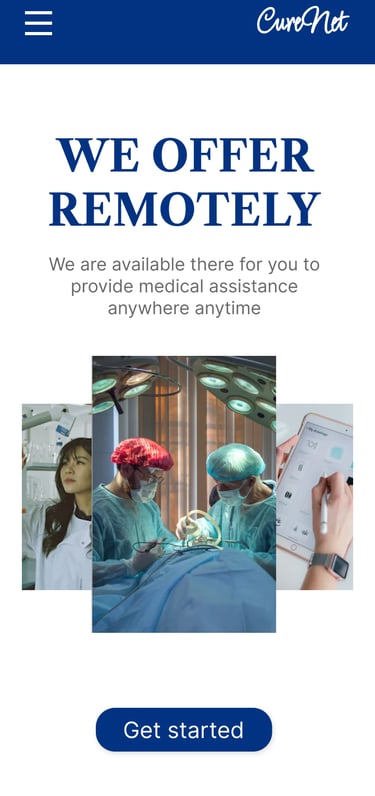
Mobile version


Thanks for reviewing, move back to top